No news on the bed frame project other than I haven't had time to work on it. Between starting fall season and the weather changing toward northwest fall - love this time of the year - I haven't had the time or energy needed to finish off the project. I'm hoping that this weekend will allow me to get more of it done.
A quick recap for those who don't want to go back through the previous four posts.
1. I couldn't find a bed frame that I liked so inspired by my friends Sonja and Chris I decided to build my own.
2. After sorting through antique malls for a door to use as the head board, I decided on old window shutters. Since the window shutters cost so much money and required a ton of prep work I decided to build my own.
3. Designed and built my own window shutters then with my stepfather's help we designed and built the frame.
4. Everything was framed up and nailed into place so we started on building the posts that will hold it in place.
5. The posts were build, cut down leaving sanding and staining.
And that's where we stand right now. The bed posts need a little more sanding to remove the last swirl marks and then the head board needs to be lightly sanded. Then comes staining and it's looking like two coats will probably be needed. Finally will be the remaining frame which is still in the design phase. The important thing is to make sure that it's sturdy yet easy to disassemble for ease of moving. It's always nice having an engineer in the family.
Anyhow that's where things are right now. Zero forward progress but we're almost there.
 I have a particular way that I want things to look especially if I'm going to spend money on them. Having sold my old bed - a single - a couple years ago to the nice family across the street and after several disappointing trips to furniture stores in an attempt to find a bed frame that I liked, I was pretty much ready to give up on getting exactly what I wanted and settle for whatever I could find at IKEA.
Long story short while reading up on Chris and Sonja's slow renovation of their house in Seattle, I stumbled upon a short entry about turning a door into a head board and decided that since I couldn't find a bed frame I liked, I'd build one. Ambitious yes. My friend Christie informed me that I need to make sure it was sturdy - good point - but I'd helped my step-dad build the deck at the house and it was still standing some 8 years later.
The first job was measuring my friend's queen sized bed frame to get a rough idea of what I should be looking for and then it was off to the antique stores to find something suitable. I hit this place first and while they had a massive selection of doors and pieces I could use the door alone would cost almost as much as a full frame from Sweden. However while wandering through the upstairs loft, I came across this.
 Old window shutters. At $25 a piece they were a bargain compared to the door. However, the four I chose were coated with thick layers of white paint with blue starting to show below that. Having spent last summer remodeling my dad's old house and recalling how "fun" it was to strip old paint, sand, polish and then stain, I snapped a few pictures and headed to Home Depot.
 And came up with this. Hemlock, cut to order, free of paint, hidden knots and ready to be finished. I ended up with more than I needed for less than $50 dollars. For some added character I made a strictly aesthetic choice and bought pieces of varying width to match the rustic look of the shutters found in Aurora.
  The next task was measuring out the pieces and marking them for the saw. The head board - the first picture - will be made of four "window shutters" spaced about 3 inches apart for a grand total length of 64 inches and stand about 28 inches tall. Tomorrow I should be able to get the pieces cut down to size and then start assembling them.
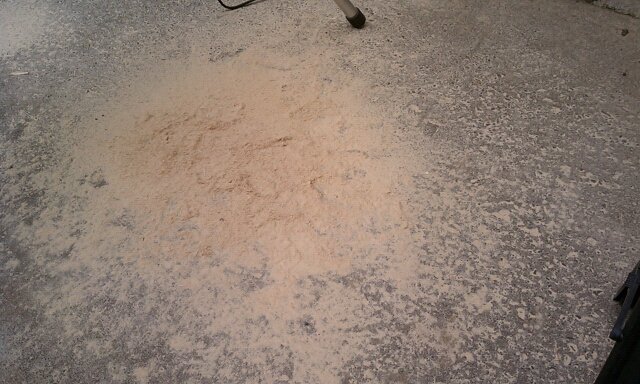
 Sanding down the remaining swirls and odd marks on both posts
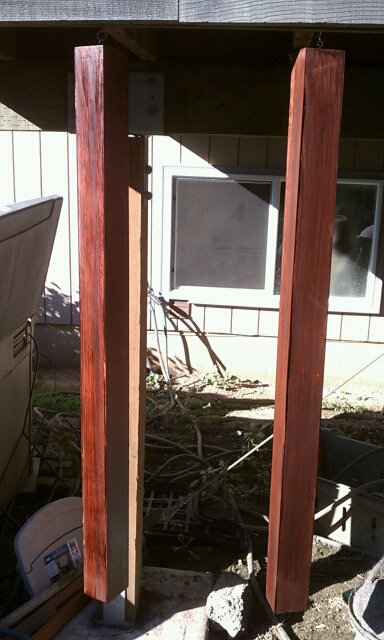 Success. The first coat of stain went on rather easily and while there are a few touch up spots I'm fairly pleased the the overall results.
  In the process of applying the stain I did manage to stain part of my foot. The shoes were old but I really liked them plus the stain turned my foot a nice shade of mahogany. The important thing though is that the posts are almost done. The head board should be completed soon and then we can move to the frame.